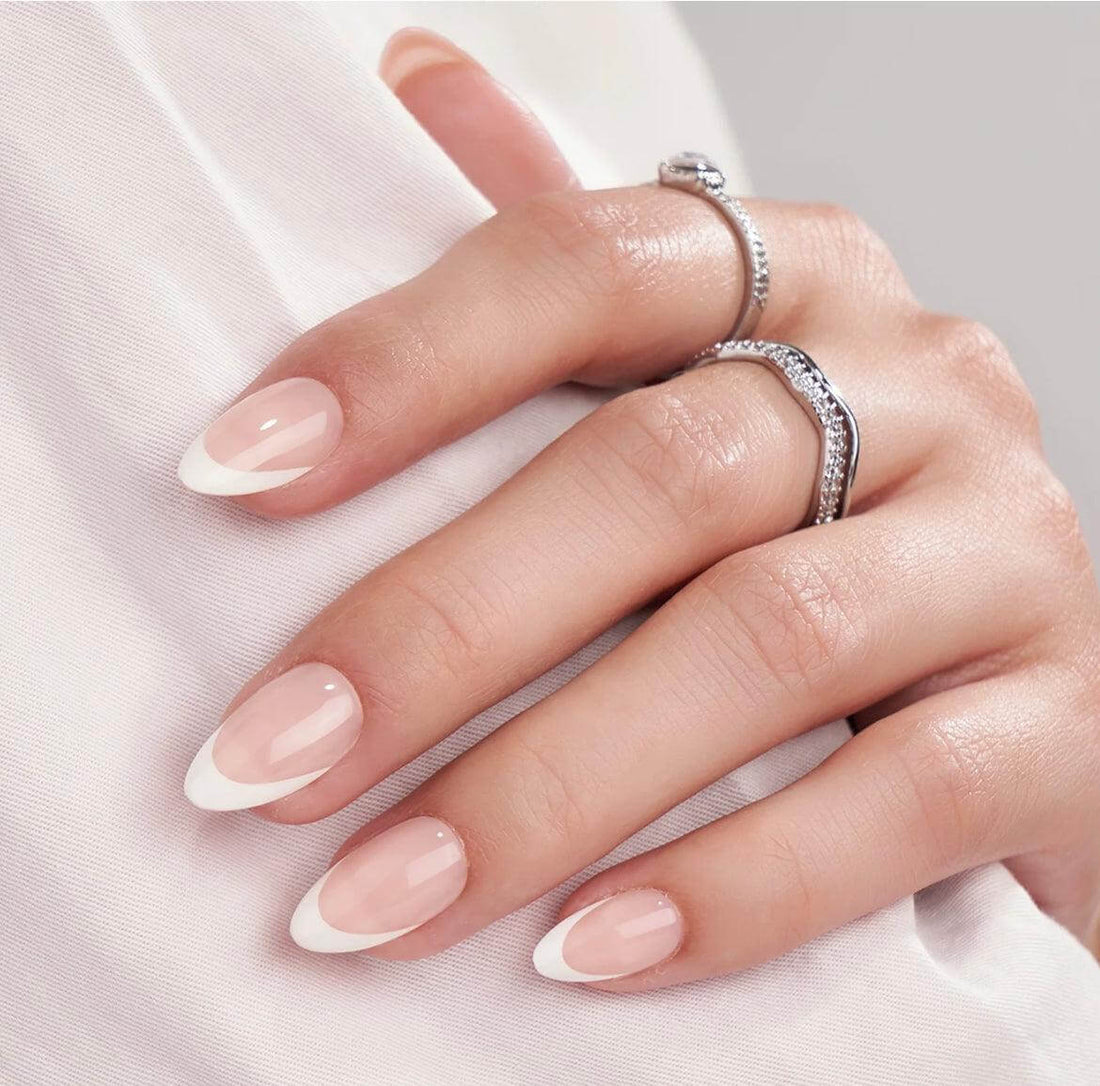
Can't Stop, Won't Stop: How to Get the Most Out of Press-On Nails!
Press-on nails are totally in and they aren't going anywhere anytime soon. They are one of the hottest trends right now and they solve that issue for nail lovers that don't want commitment to a specific set as well as the beauties that are on a budget. They are a quick fix to avoid those long exhausting lines at the nail salon, and they offer more unique and in style designs that we can all enjoy. You can literally pop them on anywhere and go. With that said, a quick manicure is the trick, but what about long time use? How do we get the most out of our press on nails?
The first step is: PREP
Prep is key! A good prep can make our manicure last for more than a week, depending on the specific method we use. Jelly stickers allow for a quick night on the town or even a couple of days, while nail gel allows for a couple of weeks. Lucky for us, press on nail kits come with everything that can make our press on nails last long, a double sided nail file, a cuticle stick, alcohol pad, nail gel, and jelly nail tab stickers. Nail prep consists using the cuticle stick to push back our nails, to achieve a more natural looking manicure. After that, start buffing your nails with the double sided nail file located in our nail kit. A regular buffer also does the trick. This ensures that the nail has a rough surface. This provides more grip for the glue to adhere. which gives you longer wear time. After the buffering process, wipe away the excess dust or oil with the alcohol pad provided in the kit. You can now use either the jelly nail tabs or the nail glue and enjoy your fresh new set. Practicing this step religiously can change you manicure game!
The second step is: TOP COAT
Top coat is not only used for regular manicures at the nail salon, they can also be used on press on nails as well. Top coat not only adds a layer of protection to your fresh set of press on nails, it also prevents chips and cracks in your nails-making your nail designs last longer, complete with an insane beautiful shine.
The third step is: GEL CURING
The gel curing method is normally used for a gel-x system, but can be used on press-on nails as well. A couple of things are needed to for this method- a LED or UV lamp, and builder gel, or even base coat. Apply a layer of either builder gel or base coat on top of your natural nail and beneath your press-on nail. Once the press on nail is applied to your nail, hold the nail in place and cure it under a gel UV or LED lamp to make it adhere to your nail. This will make your press on nails last longer.
